Godot Wild Jam is a monthly game jam centred around building games in the Godot game engine. It starts on the second Friday of each month and lasts for nine days.
Godot has been gaining a lot of traction in recent years. It’s considerably newer than Unity and Unreal (its first release appeared back in 2014) and while it’s not as popular for large, complex projects, that’s something the authors are actively working to improve. Version 4 is in beta at the time of writing and the first stable release of it seems imminent.
Previously, I had only done a handful of experimental projects in Godot. A jam seemed like a good way to dive right into it and build something more substantial, so I signed up for GWJ #53 (Jan 13 - Jan 22).
Like most jams, each GWJ follows a theme—a keyword or phrase (chosen by the organisers before the jam begins) that participants must adhere to in some way. Each one also has three optional wildcards to make things a little more interesting.
For the GWJ #53, the theme was Assembly Required, and though I decided not to use any, the wildcards were:
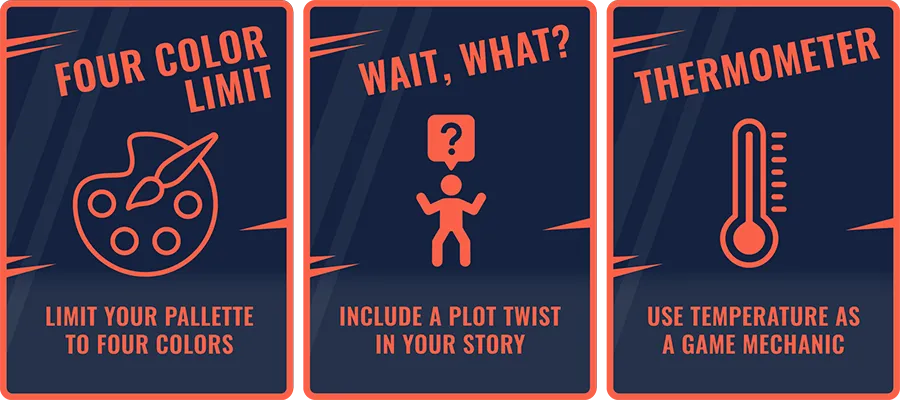
I had a few ideas in mind for my game and ultimately went with this:
Train Blazer: a top-down vertical scrolling game where you must place tracks in front of a moving train to navigate it through a series of enemy defences. As you go, upgrade your train with more weapons to improve your chances of survival.
In this post, I’ll cover some of the key features of the game and how I implemented them.
The first scene
The first thing I wanted to do was get a feel for visuals. I opted to make the game in 3D (which in hindsight was probably not the best idea as the extra dimension made development more complicated than it was worth), and while I have some basic Blender skills, they weren’t up to the task of creating all the models I’d need in a reasonable amount of time. Instead, I used Asset Forge Deluxe to quickly piece together the terrain, scenery, track, train cars, and enemy structures.
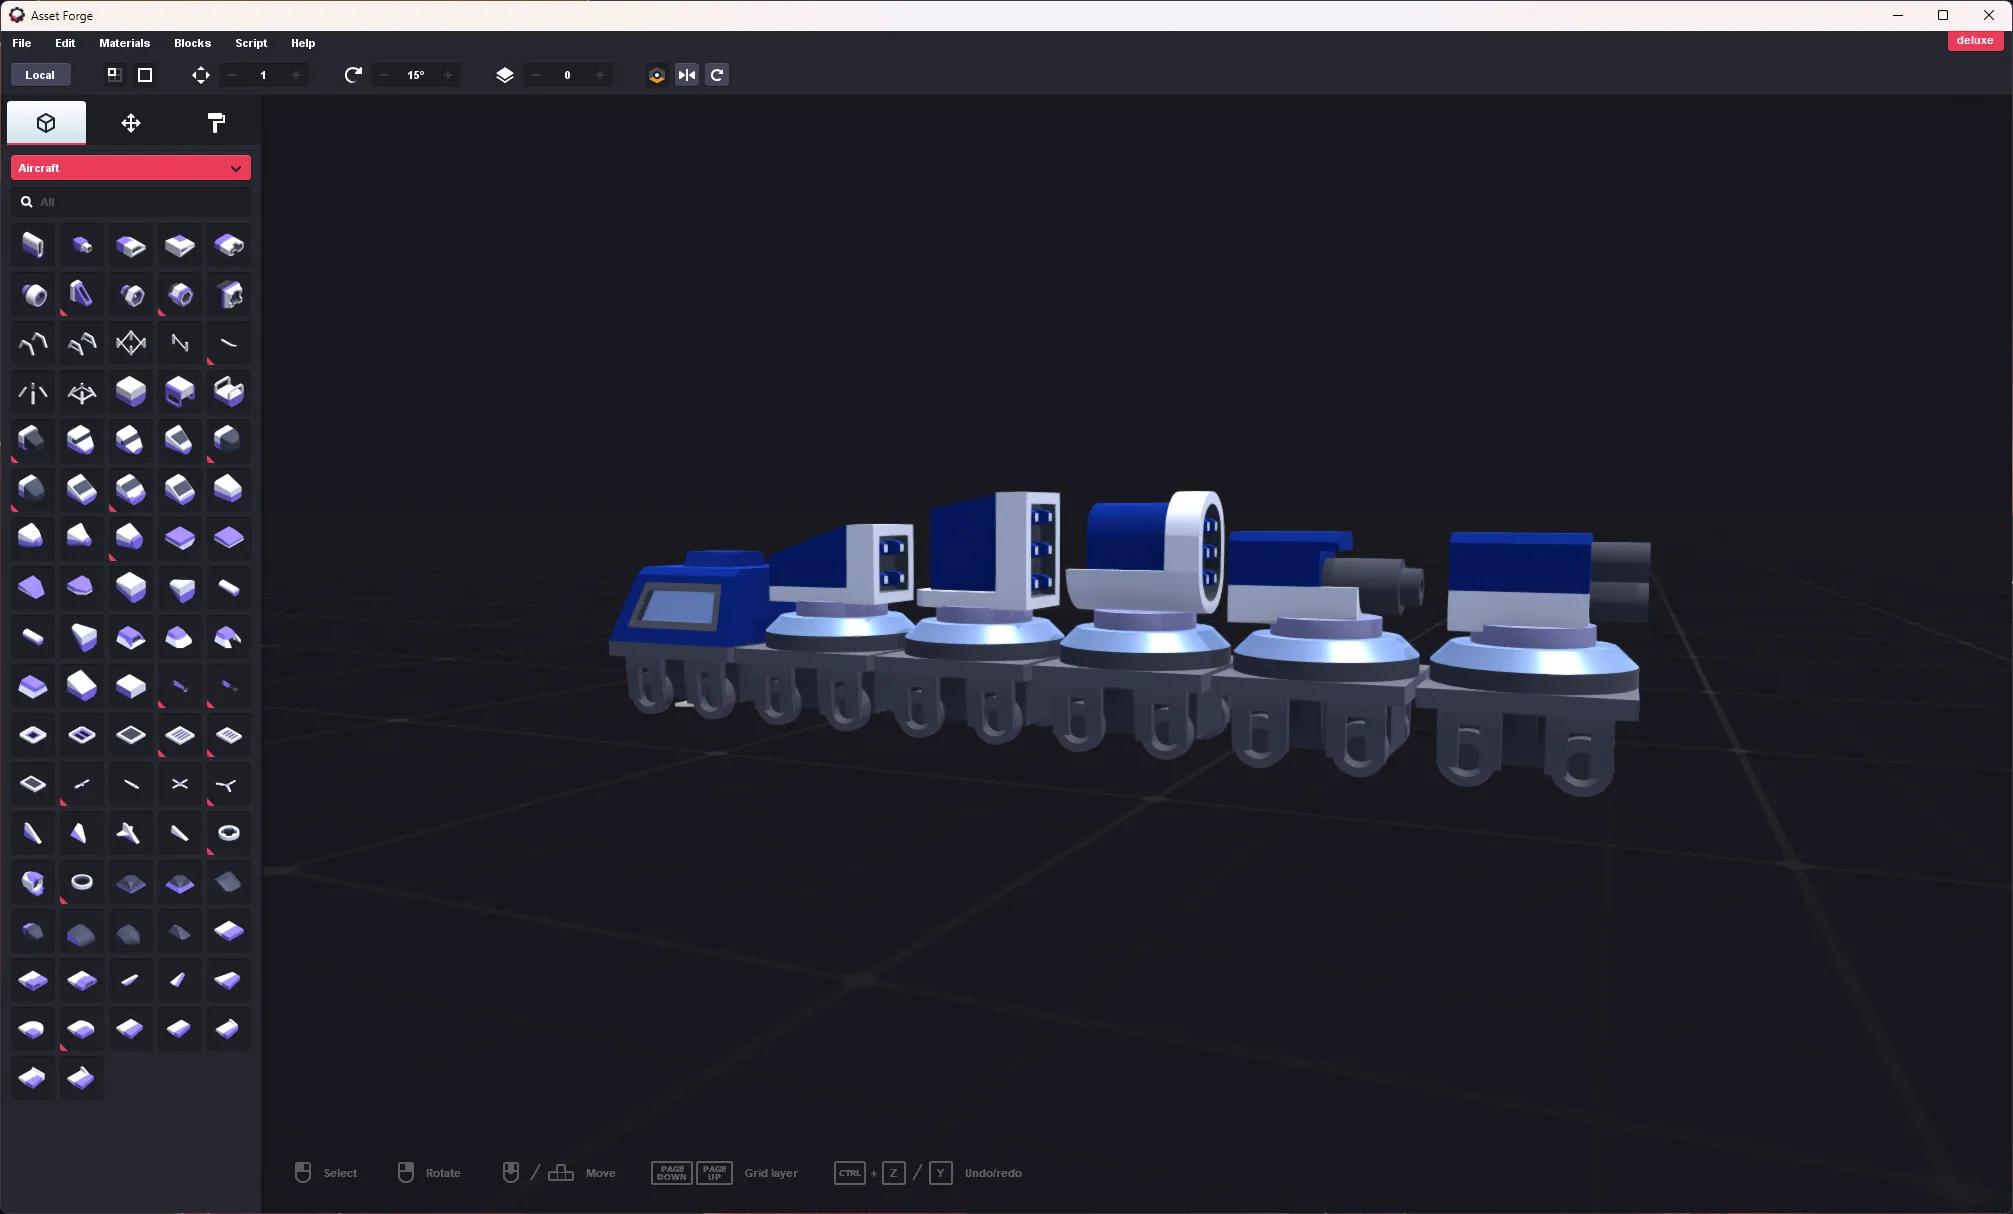
With most of the models exported, I mocked up the first scene in Godot to get an idea of how the first level might look. Using GridMaps, I laid out some terrain, scenery, track, and an enemy turret:
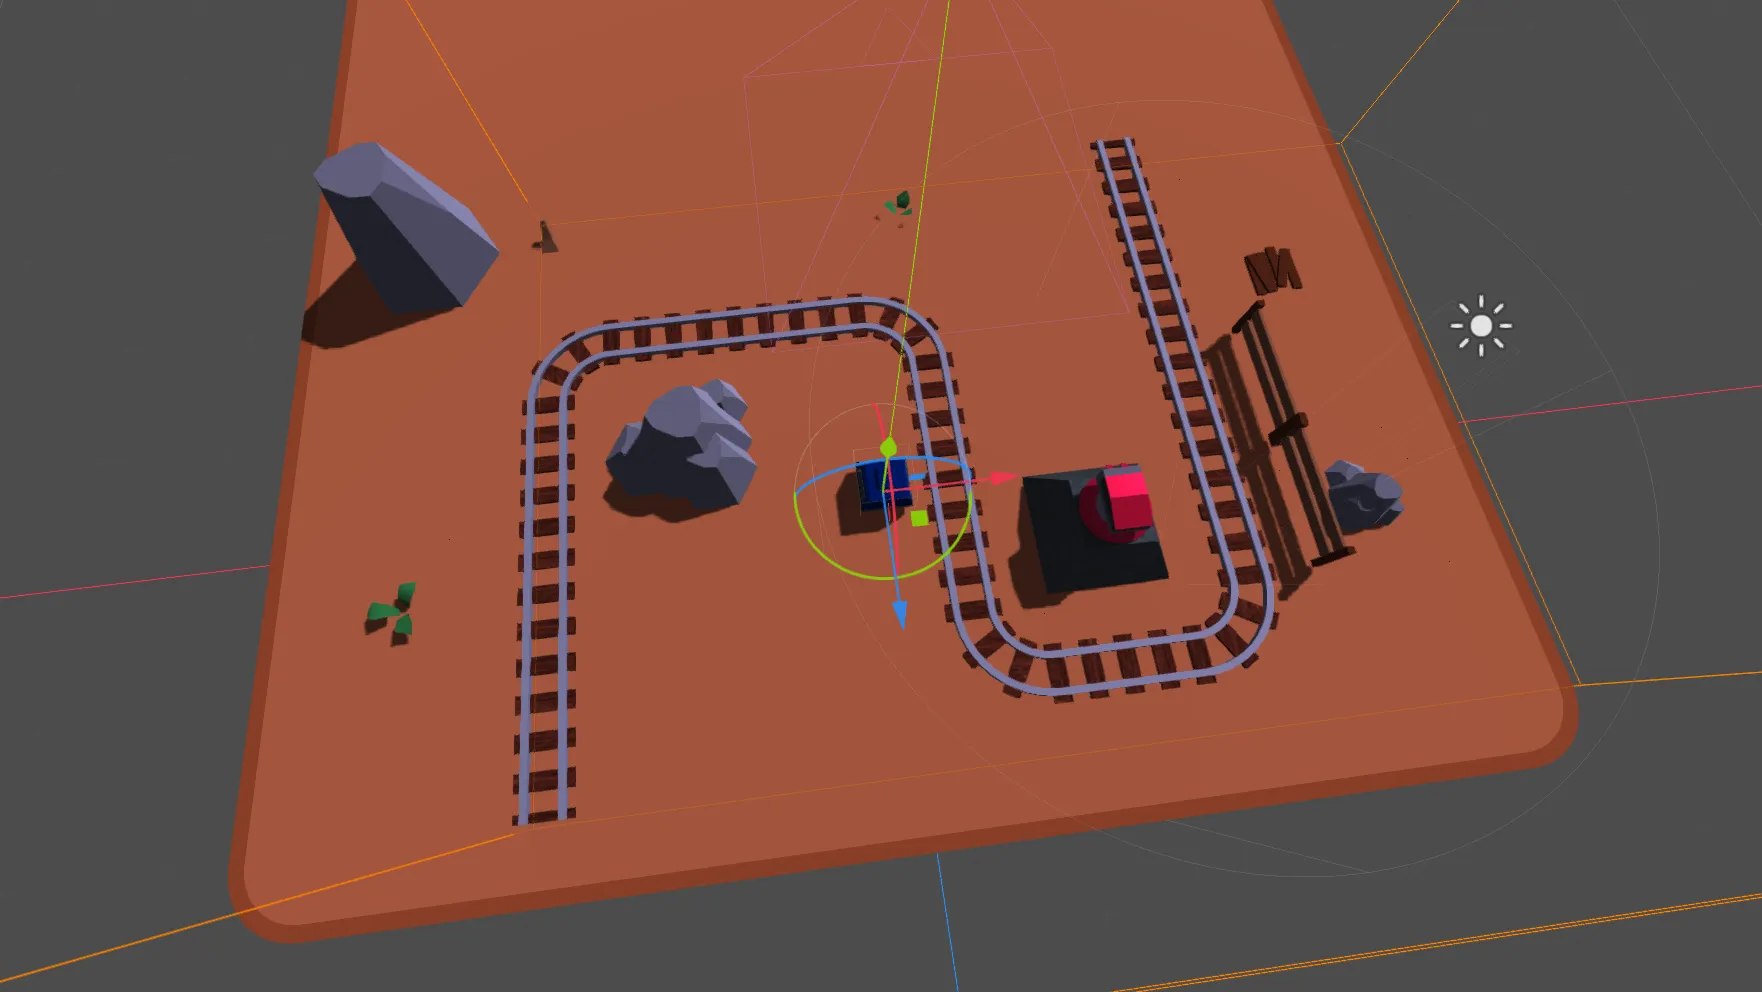
GridMaps definitely made that process quick and easy, but I realised soon after that they’re quite limited in what they can do. They’re designed for placing mesh instances rather than full nodes, so there’s a limit to how much information you can embed in each cell of the grid. That, and not everything in this game is supposed to be confined to a grid, so I was only able to use GridMaps for the terrain and scenery.
For everything else, I eventually had to implement my own grid logic, which was pretty easy to do because of the fact all of the models are scaled consistently (so they each fit within the cell size of the GridMaps)—it was mostly a matter of using whole integer values for translations.
Dynamic tracks
The next thing I tackled was dynamic track placement. Since the player has to be able to place new track segments during gameplay, the game can’t predetermine the path of the track. My initial attempt to solve that was direct and lazy; I had two scenes, one for each type of track (straight and curved), and added a Path (with enclosed PathFollow) to each. The idea was to place a train car in the PathFollow node, move it along the segment at a given speed, then pass it to the next segment and repeat the process until the train car reaches the end. This came with some obvious drawbacks:
- Baking the path into each track piece meant it wouldn’t necessarily go in the correct direction, which was awkward to account for in scripting.
- There would need to be a PathFollow node per train car per track segment, which would quickly add up and bring additional unnecessary overhead.
- Seamless transitions between segments would be difficult.
I went back to the drawing board and decided to write a system that would instead generate a path at runtime. To do this, I replaced the paths in the track segment scenes with Spatial nodes representing the points to construct a path with:
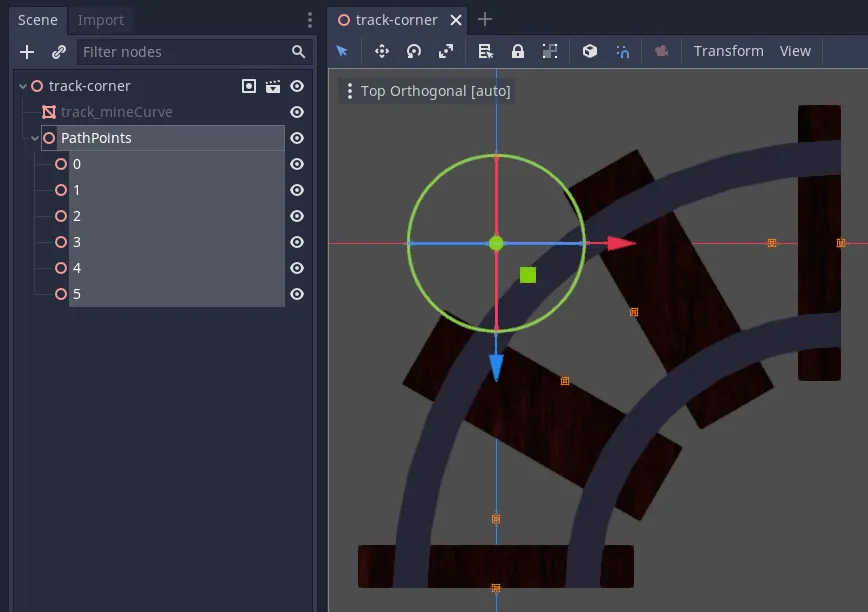
The game needs to start with some existing track (otherwise the player would lose instantly), so the system works by traversing track nodes that already exist when the scene is loaded. Player-spawned track segments are added to the same node and the system extends the path (or more specifically, the path’s Curve3D) accordingly:
# update_curve updates the given curve to match the current state of track segmentsfunc update_curve(curve):    var new_curve = curve    var segments = track.get_children()
    # Assume track segments are ordered from closest to furthest    for i in range(curve_last_extended_to_segment + 1, segments.size(), 1):        # Path points within a segment should also be in distance order        var points = segments[i].get_node("PathPoints").get_children()        curve_last_extended_to_segment = i
        # Determine which way to traverse the points - from last to first if the last point is closer, otherwise first to last        if points[-1].global_translation.distance_to(path_end) < points[0].global_translation.distance_to(path_end):            for j in range(points.size(), 0, -1):                path_end = points[j - 1].global_translation                new_curve.add_point(path_end)        else:            for j in points.size():                path_end = points[j].global_translation                new_curve.add_point(path_end)
    return new_curve
More train cars
A big part of the gameplay is the ability to spawn more cars. Making the track system support multiple cars at different positions along the track was easy; it just needed each car to be in its own PathFollow node instead of all cars sharing one PathFollow. However, movement still posed a small challenge in terms of positioning the new car behind the rearmost existing one, having it follow the path from that position, and making sure it’s angled correctly if spawned on a curved track segment.
My first attempt was sloppy and involved spawning the car invisibly with the same position and rotation as the rearmost car, waiting until that car was some distance ahead, then making the new one visible. Luckily, PathFollow’s PathFollow.ROTATION_ORIENTED rotation mode—which uses the up vector information generated by the path’s curve—meant I could just set each car’s offset value and the engine would automatically take care of the rest (with correct positioning and rotation). With that in place, I ditched the invisibility workaround.
To make spawning a little more interesting, I integrated the vertical dissolve shader from https://github.com/ceceppa/godot-shaders, which unfortunately doesn’t seem to work in HTML5 exports, but it’s better than anything I could produce with my current shader skills. Here’s how it looks in the editor:
Weapons
My original plan was to have a few different weapon types and create some size variants of each. By the end of the jam, I was only able to implement missile-firing turrets, but that was enough to at least prove out the combat. To make turrets work, I needed three things: an aggro radius, an aiming/targeting system, and a projectile to fire. I started with enemy turrets.
For the aggro radius, I simply used an Area with a cylindrical CollisionShape to represent the aggro radius. All I needed to do was connect the body_entered(node: Node) and body_exited(node: Node) signals to a script and use Groups to skip any nodes I don’t want the turret to react to.
For targeting, I kept track of relevant nodes entering the aggro radius and prioritised the oldest one as a target. As long as a target exists, the turret rotates towards it (with some linear interpolation) and initiates firing based on a given interval.
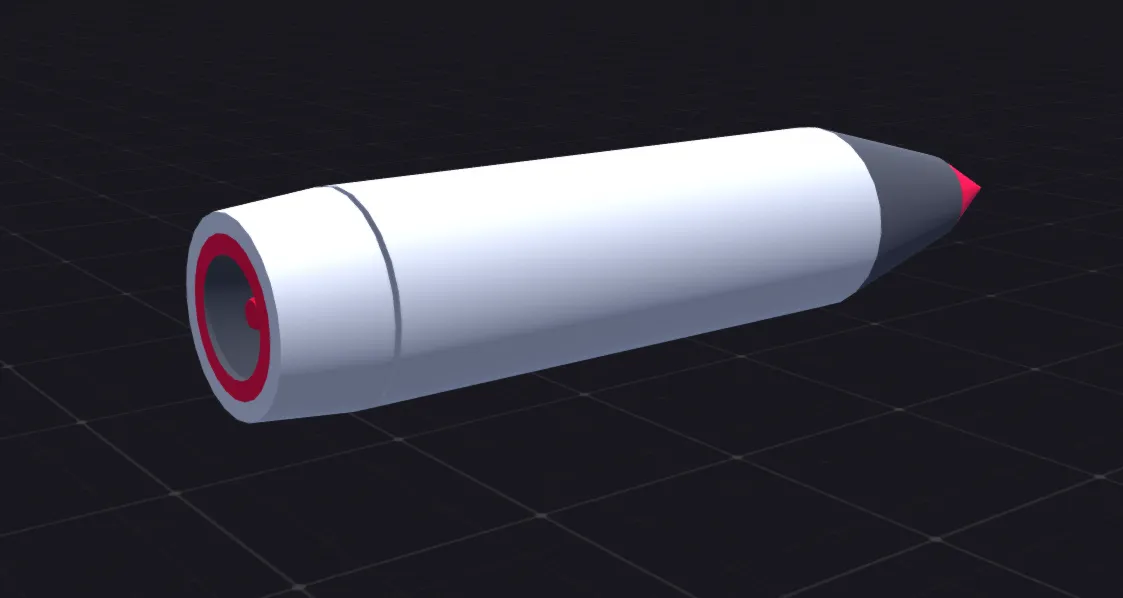
For the projectile, I created a missile in Asset Forge (as seen earlier in the post) and used the engine flame shader from https://github.com/miskatonicstudio/godot-experiments for the exhaust effect:
For the firing logic itself, I used Spatial nodes placed in the turret scene to represent the points at which projectiles should be spawned (which I named “muzzle points”), similar to how I approached path generation for the tracks. When a projectile is spawned, it inherits both the position and rotation of the muzzle point, but it’s added to the root of the scene tree so that it can move independently of the turret.
I went through a few iterations of that system over the course of the jam, and while it still has room for refinements, I was able to refactor it into something that could be applied to the player’s train turrets as well.
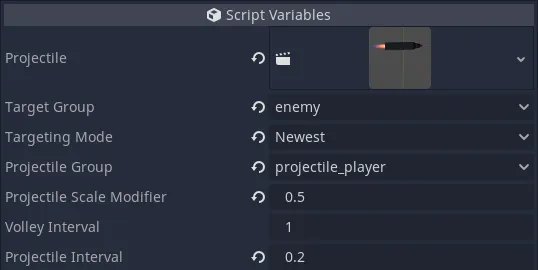
To make the missiles explode on impact, I just used more of Godot’s physics nodes: a StaticBody on the missile itself and Area nodes on anything missiles should be able to hit (the terrain and the train cars). To make the impact more visually appealing, I integrated the explosion effect from https://github.com/drcd1/GodotSimpleExplosionVFX:
With all of those pieces in place, all that was left to make combat work was to add some simple health/integrity values to both the enemy structures and terrain. To save time, I hard-coded damage handling—not ideal, but it was a quick and easy solution that I could easily balance. If I had more time to implement more structures and train cars, I probably would have refactored it into something more robust first.
Track placement & custom grid system
Like I mentioned early in the post, I ended up writing my own grid logic to support the system that would determine where track segments could be placed. I essentially needed a way of querying all of the GridMap nodes and the set of enemy turret nodes to know where a given track segment (with a specified rotation) could legally be placed. To that end, I wrote a script to maintain two dictionaries (the closest thing to sets in GDScript)—one for occupied positions and another for terrain positions:
extends Spatial
onready var grid_terrain = get_node("GridMaps/Terrain")onready var grid_scenery_small = get_node("GridMaps/ScenerySmall")onready var grid_scenery_large = get_node("GridMaps/SceneryLarge")
var occupied_positions = {}var placeable_terrain_positions = {}
func _ready():    for child in $Track.get_children():        add_node(child)
    for child in $Enemy.get_children():        add_node(child)
    # TODO: Find a better solution to dealing with the offset grid coordinates    for pos in grid_scenery_small.get_used_cells():        add_position(Vector3(pos.x + 1, 0, pos.z + 1))
    for pos in grid_scenery_large.get_used_cells():        var vec3 = Vector3(pos.x + 1, 0, pos.z + 1)        add_position(vec3)
    # Count centre terrain pieces only    for pos in grid_terrain.get_used_cells_by_item(0):        placeable_terrain_positions[Vector2(pos.x, pos.z)] = true
func add_node(node: Node):    add_position(node.global_translation)
func add_position(pos: Vector3):    occupied_positions[Vector2(pos.x, pos.z)] = true
func remove_position(pos: Vector3):    occupied_positions[Vector2(pos.x, pos.z)] = false
func is_position_valid(position: Vector3):    # position is expected to be in world space    var vec2 = Vector2(position.x, position.z)    return not occupied_positions.has(vec2) and placeable_terrain_positions.has(vec2)
I decided early on to make it so that newly placed track could only lead north, east, or west, which not only makes sense for the goal of the game (you need to go north, so why backtrack?), it also significantly simplified track validation because it’s impossible to lay track that would enclose itself and trap the train.
Audio
I invested very little time in audio—around thirty minutes at most—mainly because the game only needed a very limited set of sound effects. For the explosions, I used some effects from zapsplat.com, which is an excellent source of royalty-free sound effects in reasonably good quality.
For the music, I used an old track I wrote a long time (almost ten years!) ago. I recalled some people commenting at the time that it sounded like it would go well in a video game, and it has a steadily increasing tempo, which seemed to fit the concept of this game in particular. If I decide to continue working on the game, I’d like to explore dynamic music that builds up based on game state, and perhaps have the speed of the train gradually increase alongside the tempo.
Aside from the music, I created two sound effects: the missile launch sound and the UI click. For the missile launch, I blew against the edge of some card a dozen or so times, took the best samples, cleaned them up, and added some reverb. For the UI click, I recorded a click from a bed sheet strap and used a high pass filter to make it more crisp and subtle.
UI
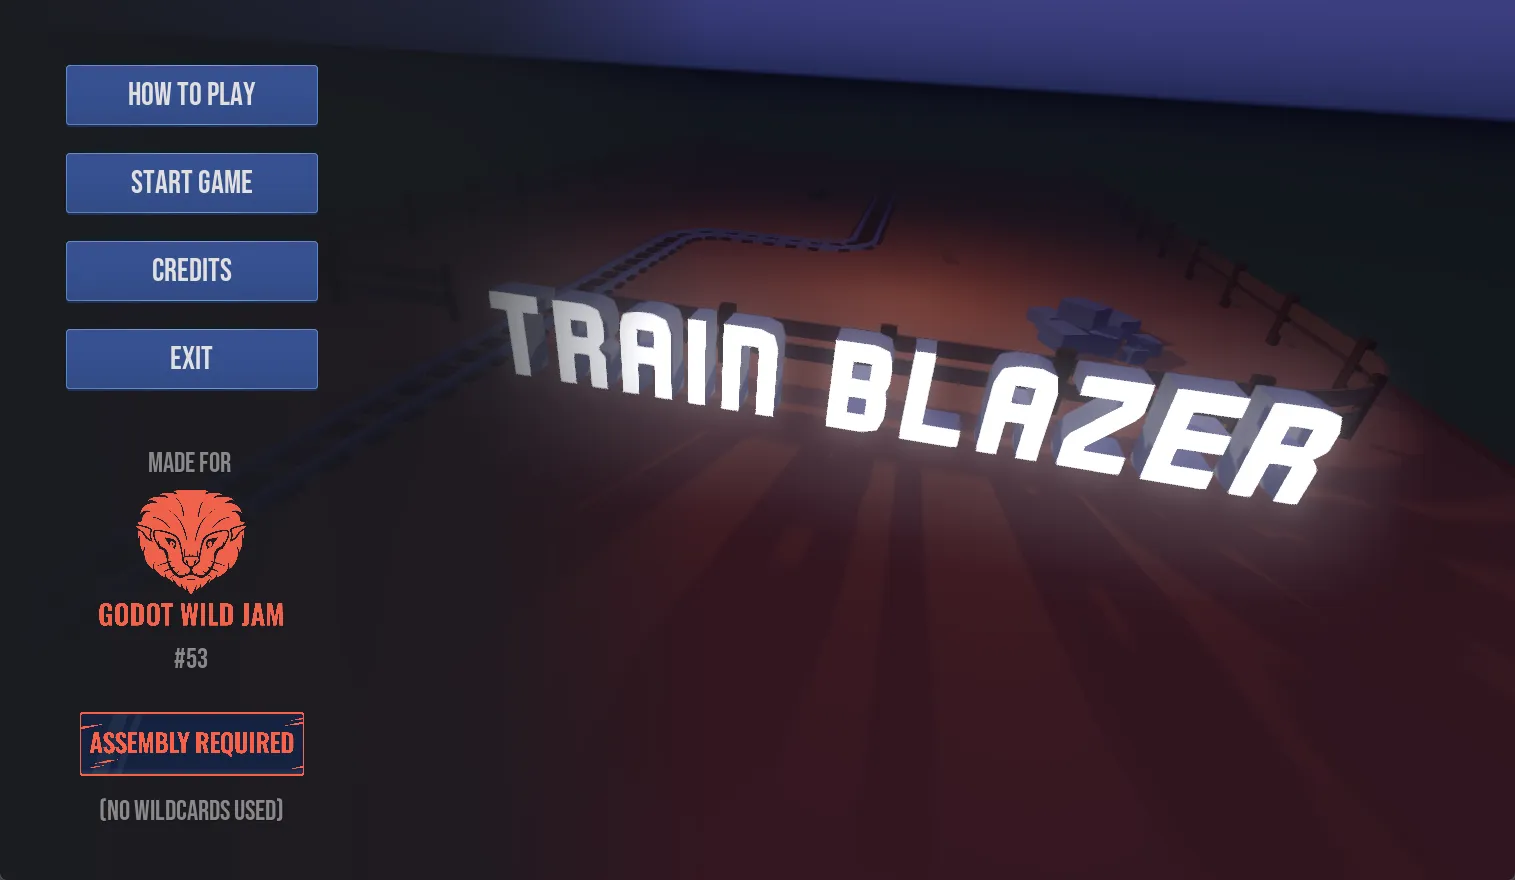
I worked on the UI throughout the project, adding to it in small increments as parts of the gameplay and features needed for user input came together. I think I could have done a much better job of the UI were it not for time constraints, but it could be much worse! For the font, I used Bebas Neue (see Google Fonts), which was fine for some elements but the all-caps is a little too much for paragraphs of text. An expanded font family would certainly be an improvement.
For the buttons, I opted to create some textures for the normal, hovered, and pressed states in Photoshop. I didn’t use 9-slicing, so the buttons all ended up being the same aspect ratio and scale, but that wasn’t a problem since I only used buttons in the main menus and in-game pause menu.
For the HUD, I wanted to use icons for all of the track pieces and train cars. I’m pretty sure there’s a way of rendering these in Godot, but Asset Forge has a straightforward sprite export feature, so I exported PNGs with that and spent some more time in Photoshop designing circular button textures with normal/hovered/pressed states.
Aside from creating some textures for the health bars (one in the HUD for the train integrity and one drawn in world space above each enemy structure), the rest of the UI work was mostly a combination of layout adjustments in the editor and script work to hook things up. In terms of interactivity, the most important part of the HUD is the bottom section, which hosts the options for laying down track as well as buying additional train cars.

Like some other parts of the game, I used signals for both upwards and lateral communication in the scene tree and direct calls to script functions for downwards communication. For example, the HUD script receives signals for button presses, changes to the train’s integrity value, (un)pausing the game, and win/loss conditions (to show the corresponding modal UI to the player).
One of the biggest issues with the UI turned out to be its poor response to lower resolutions, since I developed the game on my 3440x1440 ultrawide and didn’t test at lower resolutions as much as I should have. But just like everything else in a jam, that’s something I might have addressed if I had more time!
That covers the more interesting (or perhaps not so interesting depending on your experience with Godot!) aspects of the game. If I decide to continue working on it, I’ll consider redeveloping it in 2D and creating the artwork myself with Aseprite. Some of the best submissions I played in this jam are polished 2D experiences with tightly defined scope and a nice pixel art style, so I could probably learn a thing or two from those.
The game is hosted on itch.io if you’d like to try it, and the source is available on GitHub at https://github.com/Riari/gwj-jan-2023. Thanks for reading!